

| Previous | TOC | Next |
2b Defining an area for recording
As we said earlier, there are three ways of selecting the area on which you will confine the recording.
1. Using the preview thumbnail on the main window.
2. Using the “Select Window” button.
3. Using the “Select Area on Screen” function of the tray pop up menu.
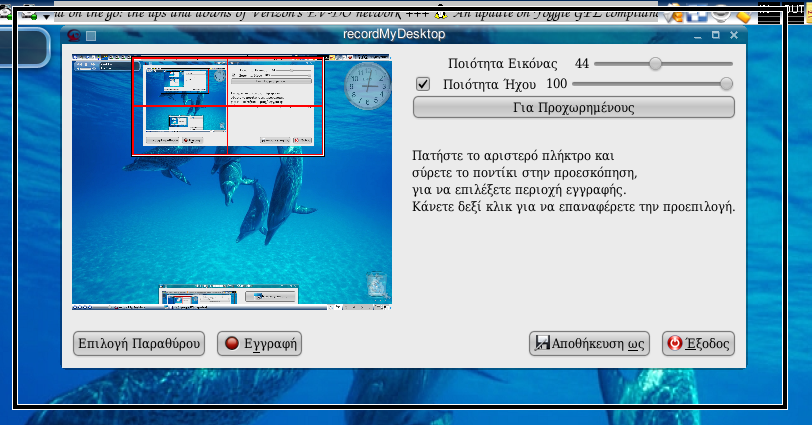
To select on the thumbnail, simply left click on it and drag the mouse. Release it when you have covered the area that you want recorded. Right clicking on the preview widget will restore the recording area to full screen.
To confine the recording on one window, click on the “Select Window” button. The cursor will change to a cross. Now click on the window you wish to record and the area will be selected. Using the “Select Window” button will only set the area. If you move the window, the area will remain unchanged. By default the window decorations will be included in the recording area. This can be changed at Advanced->Misc. To use the “Select Window” button, you need to have the xwininfo utility installed.
Finally, to select an area with more precision, right click on the tray icon and click on “Select Area on Screen”. When you do that, a screenshot of your desktop is picked and then overlayed as full screen over your desktop. Left click and drag to select an area. When you release the mouse button, the overlayed screenshot will disappear. You can also right click to cancel the selection process.
After you have finished using any of the above methods, the area you have selected will be shown in the the preview window. Depending on your settings, an optional frame might also appear on your real display, around the recording area.
| Previous | TOC | Next |
 Save to del.icio.us
 Blinklist
 Furl
Furl reddit